by Thonia Ezennaya
Instagram: thoniaking_tara


Hi guys,
Today I’m going to quickly share with you how to achieve the Natural/ Nude makeup look in 10 steps.
Nude makeup is great for those who love to showcase their Natural beauty without using too much makeup products.
Let’s get right into it!
- First, cleanse your skin before you begin and moisturise with a moisturiser designed for your skin type.
- Next step is to apply foundation. (I’m a big fan of applying foundation on the skin first, rather than starting with the eyebrows. I mean, you must lay the foundation before building your house, right?). Less is more, make sure your foundation as little as possible, this would help you achieve the “I woke up like this” flawless look. However, if you have dark circles or spots on your face, use a concealer to cover dark circles and spots, before applying foundation, this would help you use less foundation.
- Applying powder is the next step, do this by dabbing the powder on to the skin with a powder brush, for smooth finish.
- Now eyebrows, make sure your eyebrow hair is already properly groomed, cos the eyebrows frame the girl’s face! Since your makeup is natural, your brows must be on fleek. Use a pencil to outline your brows at the bottom and at the top, then fill in gently with light strokes, concentrate more on the areas where your eyebrow hair is sparsely grown (you don’t wanna be looking all Nigerian with them brows baby girl…. Soft and natural is the way!)
- Next is eyeshadow, this is where you cheat *grinning* Omo no time to waste!!!, just dab on some of your powder on your eyelid as your eyeshadow colour. You can even decide to use an eyeshadow primer before applying the powder, to make it pop a bit, then use a dark brown eyeshadow colour, or a powder that’s two shades darker than your skin tone to contour the outer corner of the eye.
- Don’t forget to line your eyes, (this is the window to the soul) do this on top and beneath. Apply mascara, to enhance your eyelashes (Fibre fuse by House of Tara does the magic for me, cos I always look like I have false lashes on when I wear this mascara)
- Apply blush to the apple of your cheeks and sweep it in towards the top part of your ear, this would make you look younger, since we are going for a fresh natural look, I would suggest blushes in orange or coral tones for light skin and earth toned blushes for dark skin.
- Apply bronzer to your cheek bones, you can make this simple or dramatic (if you want to pepper them *tongue out*) Do this using a fan brush. Use the tip of your smallest finger to apply bronzer at the tip of your nose if u want the pointed nose effect, but remember we are trying to keep the look as simple and fresh as possible.
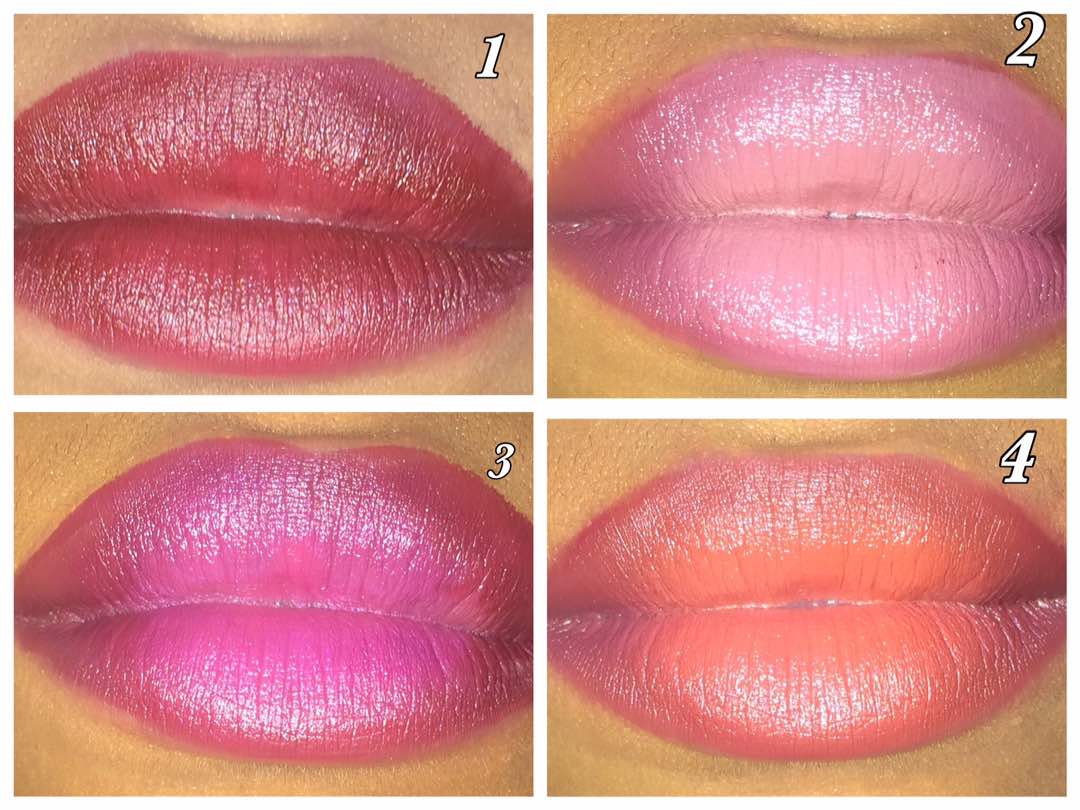
- Next, the LIPS! If you have small lips you can apply lip gloss and get on with your day’s business, but if you have full lips, you would want to line you lips first with a soft brown lip liner, then apply a nude colour lipstick that suits your skin type. (you can test to know if a nude colour would suit you, by first applying the nude lipstick without makeup on, if it looks good on you, then that colour is your perfect nude lip colour.) The lipstick texture could be matte or moisturising. Please note that this lip makeup process is not exclusive to people with full lips, even those with small lips can rock it too.
- Setting spray!!!! Set your makeup with setting spray. This does not only make your makeup stay, this makes you makeup sit into your face like you have nothing on.
SLAY!!! You can Create Your Own Style! The most amazing thing about makeup is that you can experiment all the time. Although the above-mentioned steps generally applys to the nude look, you can break them to create your own personal style statement.
I’ll love to know your thoughts about this nude makeup look. Have you tried it? Share your experience with us when you do. You can post pictures of your experience on Instagram, and don’t forget to tag @houseoftara_intl.
Written by: Priscilla Ezinwa John Louis

Get social with her! On Instagram Follow @zeeliciousfairy